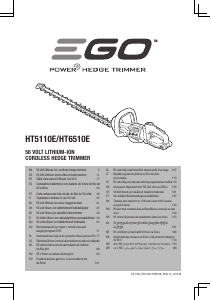
Kullanım kılavuzu EGO HT2411E Çalı makası

EGO HT2411E Çalı makası’ınız için bir kılavuza mı ihtiyacınız var? Aşağıda PDF kılavuzunu Türkçe olarak ücretsiz olarak görüntüleyebilir ve indirebilirsiniz. Bu ürün şu anda 4 sık sorulan soru, 0 yorum ve 0 oy var. İstediğiniz kılavuz bu değilse lütfen bizimle iletişime geçin.

Ürününüz kusurlu ve kullanma kılavuzu size bir çözüm sunamıyor mu? O zaman ücretsiz tamir hizmetleri için Repair Café’yi ziyaret edin.

Kullanım kılavuzu

Loading…
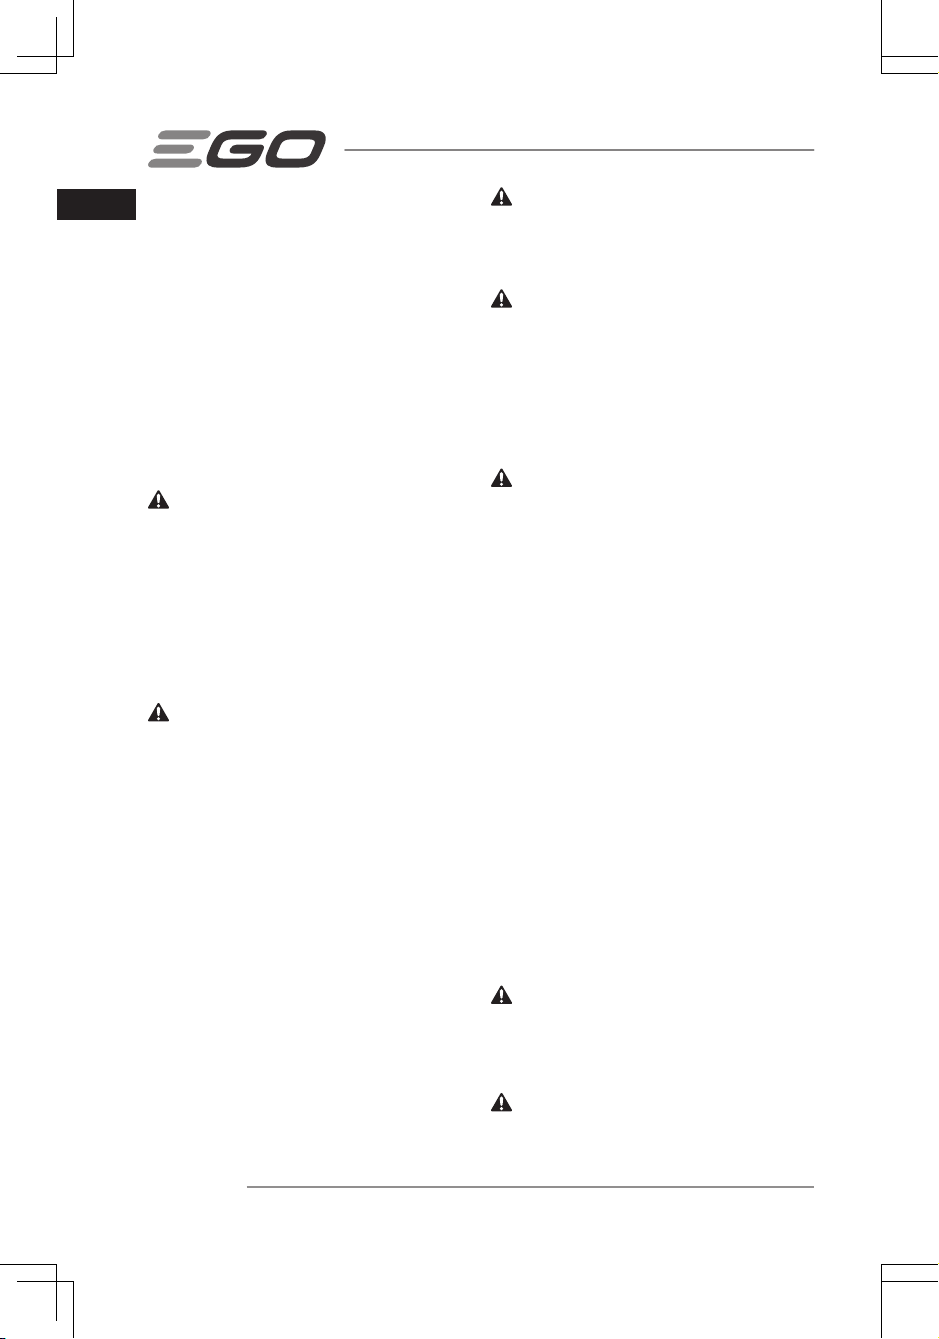
56 VOLT LITHIUM-ION CORDLESS HEDGE TRIMMER— HT2410E/HT2000E6
EN
NOTICE: The tool is to be used only for its prescribed
purpose. Any other use is deemed to be a case of misuse.
INSTALLING/REMOVING THE BATTERY PACK
Use only with battery packs and chargers listed
in fig.A2.
Charge before first use.
To Install (Fig. B)
Align the battery ribs with the mounting slots and press
the battery pack down until you hear a “click”.
To Remove (Fig. C)
Depress the battery-release button and pull the battery
pack out.
WARNING: Always be aware for the location of your
feet, children, or pets when pressing the battery-release
button. Serious injury could result if the battery pack falls.
NEVER remove the battery pack at a high location.
HOLDING THE HEDGE TRIMMER (Fig. D, E & F)
The unit has both a front and rear handle. With the blade
directed away from you, hold the unit by both handles.
The switch lever in the front handle can be activated on
any of the three sides, giving you many choices for a
comfortable grip when performing cutting operations.
WARNING: Always keep both hands on the hedge
trimmer handles. Never hold shrubs with one hand while
operating the hedge trimmer with the other hand. Failure
to heed this warning may result in serious injury.
STARTING/STOPPING THE HEDGE TRIMMER
Before operating, remove the shield and hold the trimmer
with both hands, one hand on the rear handle and the
other on the front handle. Then check for stable footing,
upright standing and a proper cutting distance.
To Start
1. Install the battery pack.
2. Depress and hold the switch lever in the front handle
with one hand.
3. Press and hold the lock-off button with the thumb of
your other hand, then squeeze the rear switch lever
with your fingers to start the hedge trimmer. Release
the lock-off button and continue to squeeze the
trigger for continued operation.
To Stop
Move the hedge trimmer away from the cutting area and
release the rear switch lever to stop the hedge trimmer.
WARNING: Always remove the battery pack from
the hedge trimmer during work breaks and after finishing
work.
USING THE HEDGE TRIMMER
WARNING: If the blade jams on any electrical cord
or line, DO NOT TOUCH THE BLADE! IT CAN BECOME
ELECTRICALLY LIVE AND VERY DANGEROUS. Continue
to hold the hedge trimmer by the insulated rear handle
or lay it down and away from you in a safe manner.
Disconnect the electrical service to the damaged line or
cord before attempting to free the blade from the line or
cord. Failure to heed this warning will result in serious
personal injury or possible death.
WARNING: Avoid trimming too much at one time or
through the heavy shrubbery. This can cause the blades to
bind and slow, reducing the cutting efficiency.
NOTICE: The trimmer shall be used to cut stems less
than (26mm) thick.
NOTICE: For new growth, a wide sweeping is suitable
for the stems fed directly into the cutting blade. For older
growth, a sawing movement is good for trimming the
thicker stems. A non-powered hand saw or pruning saw is
suggested for trimming the large stems first.
Top Cutting
Use a wide sweeping motion. A slight downward tilt of the
cutting blades in the direction of motion gives the best
cutting results. For better cutting effect, you might as well
use the string to guide the hedge level as Fig. G shown.
Side Cutting
When trimming the sides of the hedge, begin at the
bottom and cut upwards as Fig. H shown. Trim the side of
a hedge so that it will be slightly narrower at the top. This
shape will expose more of the hedge to sunlight, resulting
in a more uniform growth.
MAINTENANCE
WARNING: When servicing, use only identical
replacement parts. Use of any other parts may create a
hazard or cause product damage. To ensure safety and
reliability, all repairs should be performed by a qualified
service technician.
WARNING: To avoid serious personal injury, always
remove the battery pack from the product when cleaning
or performing any maintenance.
Türkçe kullanım kılavuzunu indir (PDF, 2.78 MB)
(Çevreyi düşünün ve sadece çok gerekli olması halinde bu kullanma kılavuzunu yazdırın)

Loading…

Derecelendirme

Bir ürün derecelendirmesi yaparak EGO HT2411E Çalı makası hakkındaki düşüncelerinizi bize bildirin. Bu ürüne ilişkin deneyimlerinizi paylaşmak veya bir soru sormak ister misiniz? Lütfen sayfanın alt kısmında bir yorum bırakın.
EGO HT2411E Çalı makası’den memnun musunuz?
Evet Hayır
Bu ürünü derecelendiren ilk kişi siz olun
0 oylar

Bu ürün hakkındaki sohbete katıl

Burada EGO HT2411E Çalı makası hakkında ne düşündüğünüzü paylaşabilirsiniz. Bir sorunuz varsa öncelikle kılavuzu dikkatlice okuyun. Kılavuz talebinde bulunmak için iletişim formumuzu kullanabilirsiniz.

Bu kılavuz hakkında daha fazla bilgi

EGO HT2411E Çalı makası cihazınız için basılı bir kılavuza sahip olmanın güzel bir şey olduğunun farkındayız. Kılavuzu her zaman web sitemizden indirebilir ve kendiniz yazdırabilirsiniz. Orijinal bir kılavuza sahip olmak istiyorsanız EGO ile iletişime geçmenizi öneririz. Orijinal bir kılavuz sağlayabilirler. EGO HT2411E Çalı makası cihazınızın kılavuzunu farklı bir dilde mi arıyorsunuz? Ana sayfamızdan tercih ettiğiniz dili seçin ve mevcut olup olmadığını görmek için model numarasını arayın.

Özellikler

Marka EGO
Modeli HT2411E
Kategori Çalı makaslar
Dosya tipi PDF
Dosya boyutu 2.78 MB

EGO Çalı makaslar için tüm kılavuzlar
Çalı makaslar ile ilgili daha fazla kılavuz

EGO HT2411E Çalı makası hakkında Sıkça Sorulan Sorular

Destek ekibimiz faydalı ürün bilgileri arar ve sıkça sorulan soruları cevaplar. Sıkça sorulan sorularda hatalı bir cevaba rastlamanız halinde lütfen bunu iletişim formunu kullanarak bize bildirin.

Çit kesme makinemin kör olduğunu nasıl anlarım? Doğrulanmış

Dallar kesilmek yerine çekildiğinde, çit kesme makinesi kördür ve keskinleştirilmesi gerekir.

Bu faydalıydı (348) Devamını oku

Çit kesme bıçaklarımı nasıl keskinleştiririm? Doğrulanmış

Çit kesme bıçaklarınızı bilemek, aletin performansını ve verimliliğini korumak için önemlidir. Bıçakları bilemek için, çit kesme makinenizdeki bıçak tipi için özel olarak tasarlanmış bir törpüye veya bileme taşına ihtiyacınız olacaktır.

Bu faydalıydı (304) Devamını oku

Çit kesme bıçaklarımı nasıl yağlarım? Doğrulanmış

Çit kesme bıçaklarınızı yağlamak sürtünmeyi ve aşınmayı azaltarak aletin ömrünü uzatır. Çit kesme makineleri için özel olarak tasarlanmış yüksek kaliteli bir yağlama yağı kullanın ve her kullanımdan sonra bıçaklara az miktarda uygulayın.

Bu faydalıydı (149) Devamını oku

Çit kesme bıçaklarımda pas oluşmasını nasıl önleyebilirim? Doğrulanmış

Pas, çit kesme bıçaklarınıza zarar vererek performanslarını ve kullanım ömürlerini azaltabilir. Paslanmayı önlemek için, her kullanımdan sonra bıçakları iyice temizleyip kurulayın ve kuru, temiz bir yerde saklayın. Saklamadan önce bıçaklara yağ veya pas önleyici gibi koruyucu bir kaplama uygulamayı da düşünebilirsiniz.

Bu faydalıydı (90) Devamını oku
Kullanım kılavuzu EGO HT2411E Çalı makası

İlgili ürünler

İlgili kategoriler

×
Download